
Internet Information Services is an extensible web server created by Microsoft for use with the Windows NT family. IIS supports HTTP, HTTP/2, HTTPS, FTP, FTPS, SMTP, and NNTP. This quick guide explains how to install an SSL certificate on Microsoft IIS Web Server.
Step 1: Generate CSR(refer to another tutorial for the same) and get a certificate.
To complete the SSL installation, you will need the following certificate files:
- Your primary certificate (.crt file)
- The root and intermediate certificates (.ca-bundle file)
- The private key was generated while you created the CSR.
Once you’ve them, continue the below steps to install SSL on IIS.
Step 1: Combine all the certificates and convert to pfx format
First, you must combine all the certificates issued for your domain into a single file. You can do this manually using the copy-paste function and a text editor, or automatically via specific commands. It is easier when you have a certificate in pfx format for installation on Microsoft IIS.
If you decide to do it manually, the order of the SSL certificates is essential. Please use the following sequence:
- Your primary certificate for your domain name
- Intermediate certificates
- Root certificate
To automatically combine the certificates run the following commands.
If you have separate intermediate and root files, run from the Linux terminal(if you don’t want to do from Linux terminal, you can just use any text editor to combine content of all the files and make a new one from it) :
cat anoma.com.np.crt intermediate.crt root.crt >> ssl-bundle.crt
If your intermediate and root certificates are inside a single file with .ca-bundle extension, run:
cat anoma.com.np.crt bundle.crt >> ssl-bundle.crt
Note: Don’t forget to add your actual certificate file names.
Save the new, combined file and move forward to convert crt format to pfx.
Creating PFX using OpenSSL
OpenSSL is a library (program) available on any Unix operating system. If you have a Linux server or work on Linux, then OpenSSL is definitely among the available programs (in repository).
In OpenSSL, separately stored keys must be used in a single PFX (PKCS#12) file. So join existing keys to PFX:
openssl pkcs12 -export -in ssl-bundle.crt -inkey privatekey.key -out output.pfx
Step 2: Now add the SSL certificate configurations on IIS Server following the steps below.
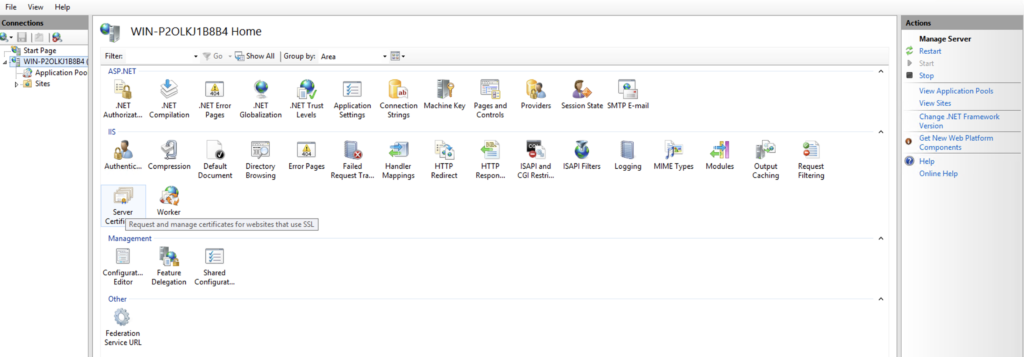
- Go to Start > Administrative Tools > Internet Information Services (IIS) Manager and open it
- Locate your server in the left-side Connections menu and double-click the Server Certificates icon.
- Now, in the right Actions pane click on Import
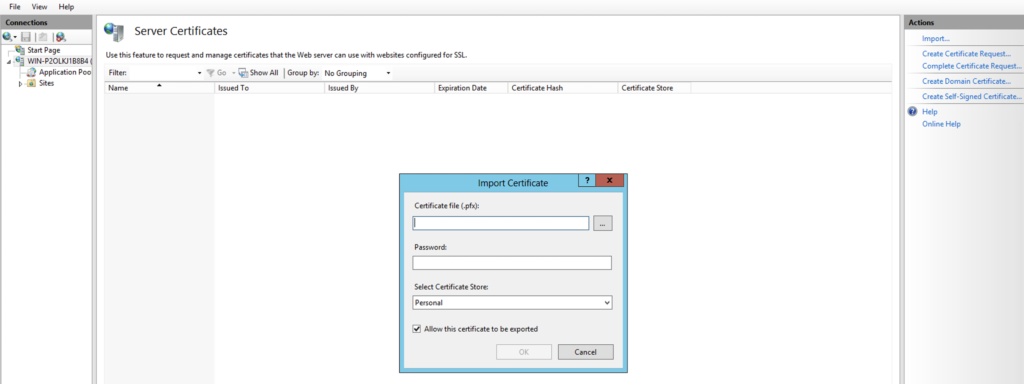
- Provide the pfx that was created earlier and press OK.
- Go back to the Connections section and click to expand the Sites folder. Select the website you want to secure
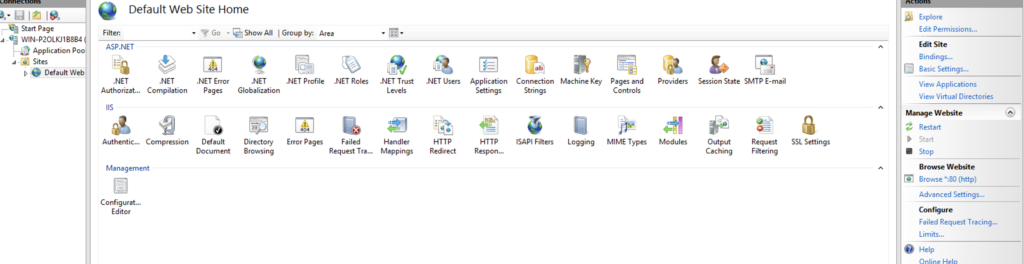
- Hover your mouse over the top-right Actions menu and select Bindings
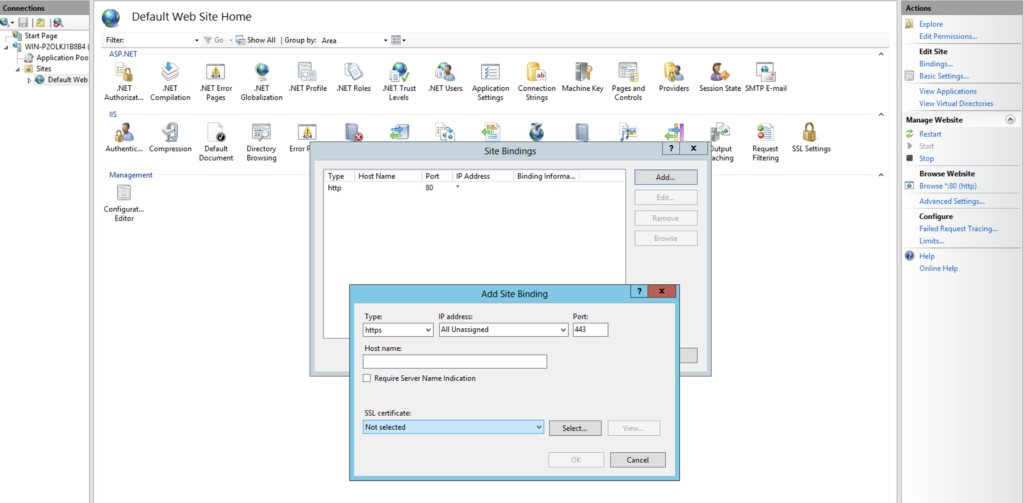
- A new Site Bindings window will pop up. Click Add
- In the Add Site Binding window, select the following parameters
- Type – HTTPS
- IP address – All Unassigned, or your IP address
- Port – 443
- SSL certificate – the friendly name of the imported certificate
We recommend checking the Require Server Name Indication box as it allows multiple SSL installations on the same server. Click OK and Close.
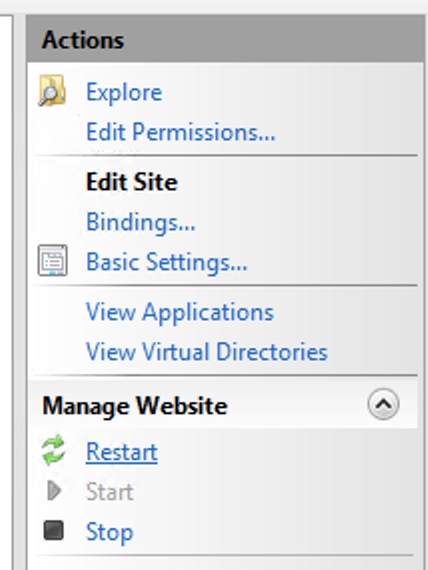
- Under the Manage Website click Restart
Step 3: Restart your IIS Service
Congratulations! You have successfully installed your SSL certificate on the IIS server. You can now check the status of your SSL installation using any SSL tools.

Write a comment
You must be logged in to post a comment.